
Sunday, May 9, 2010
Motor & Transmission In
I forgot to get a picture of the motor in the engine bay, so here it is. the new firewall insulation looks better than the image shows and everything looks really good. Next up: wiring and braking.


Saturday, May 8, 2010
Touchdown
After swapping in a new transmission output seal and a gear selector rod seal, the engine, transmission and front subframe were ready to go in. Dana, Grice, Marc and Jeff helped to position, shimmy and finally bolt the unit in place. What a relief. At three weeks until Vintage at the Vineyards, this was a necessary milestone for this weekend.

First, we jacked the body up with two jacks and a 4X4. The 4X4 is just aft of the shifter hole. Note the counterbalancing wheels and tires in the trunk.


We rolled it into place, then slowly lowered the body down. After a little precarious teetering on the jacks, we bolted the subframe in place and stood amazed at the ease. Considering that it took us only two hours to get it in and removal took a full day, I'd say it was a good day.
Here's my favorite picture of the day; Grice riding an invisible motorcycle.


First, we jacked the body up with two jacks and a 4X4. The 4X4 is just aft of the shifter hole. Note the counterbalancing wheels and tires in the trunk.


We rolled it into place, then slowly lowered the body down. After a little precarious teetering on the jacks, we bolted the subframe in place and stood amazed at the ease. Considering that it took us only two hours to get it in and removal took a full day, I'd say it was a good day.
Here's my favorite picture of the day; Grice riding an invisible motorcycle.

Friday, May 7, 2010
Ready for Installation
I just finished refreshing the timing chain cover, valve cover and oil pan gaskets. I took the opportunity to throw on a few parts from Tom Rafalski. The first was this cool pedal box plug. It's an O-ringed plate that fills the hole in the bottom of the pedal box that BMW put there so you can pull out the brake linkage without removing the entire box. I also used one of Tom's way-too-cool-looking fuel pump block-off plates.
When installing the timing chain covers, I used a bunch of metric studs with nuts because I'm tired of forgetting which bolts go where.


Tomorrow, installation!
When installing the timing chain covers, I used a bunch of metric studs with nuts because I'm tired of forgetting which bolts go where.


Tomorrow, installation!
Sunday, May 2, 2010
It Couldn't All Go Right
After a fairly painless subframe removal from the 1600 and an uncomplicated, single afternoon headliner install, we were destined to screw something up.
Embarrassing adversity, thy name is engine and subframe removal.
It only took us six hours or so to remove the drivetrain and front subframe from the `76 with all the efficiency of four monkeys doing algebra......in Chinese. Seriously, don't try this at home.


After a little blessing from the pastor of the Church of Dan, we finally got it done.


Embarrassing adversity, thy name is engine and subframe removal.
It only took us six hours or so to remove the drivetrain and front subframe from the `76 with all the efficiency of four monkeys doing algebra......in Chinese. Seriously, don't try this at home.
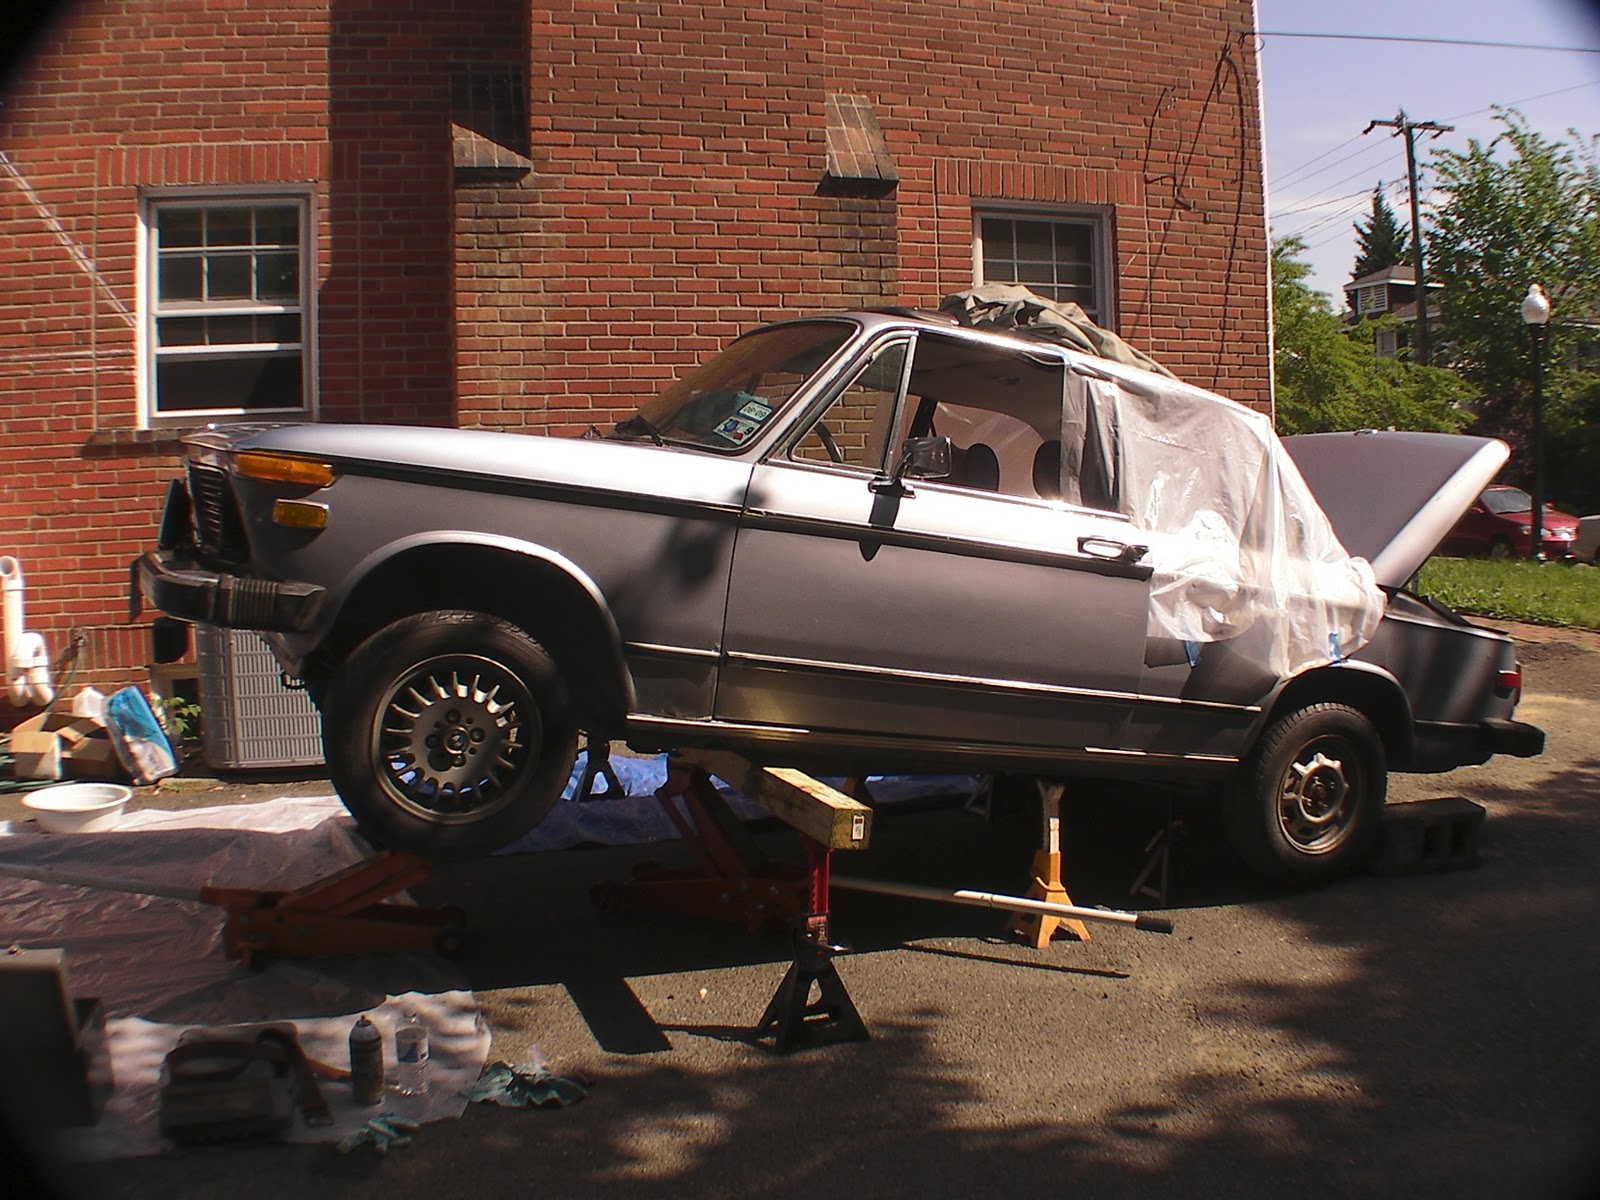
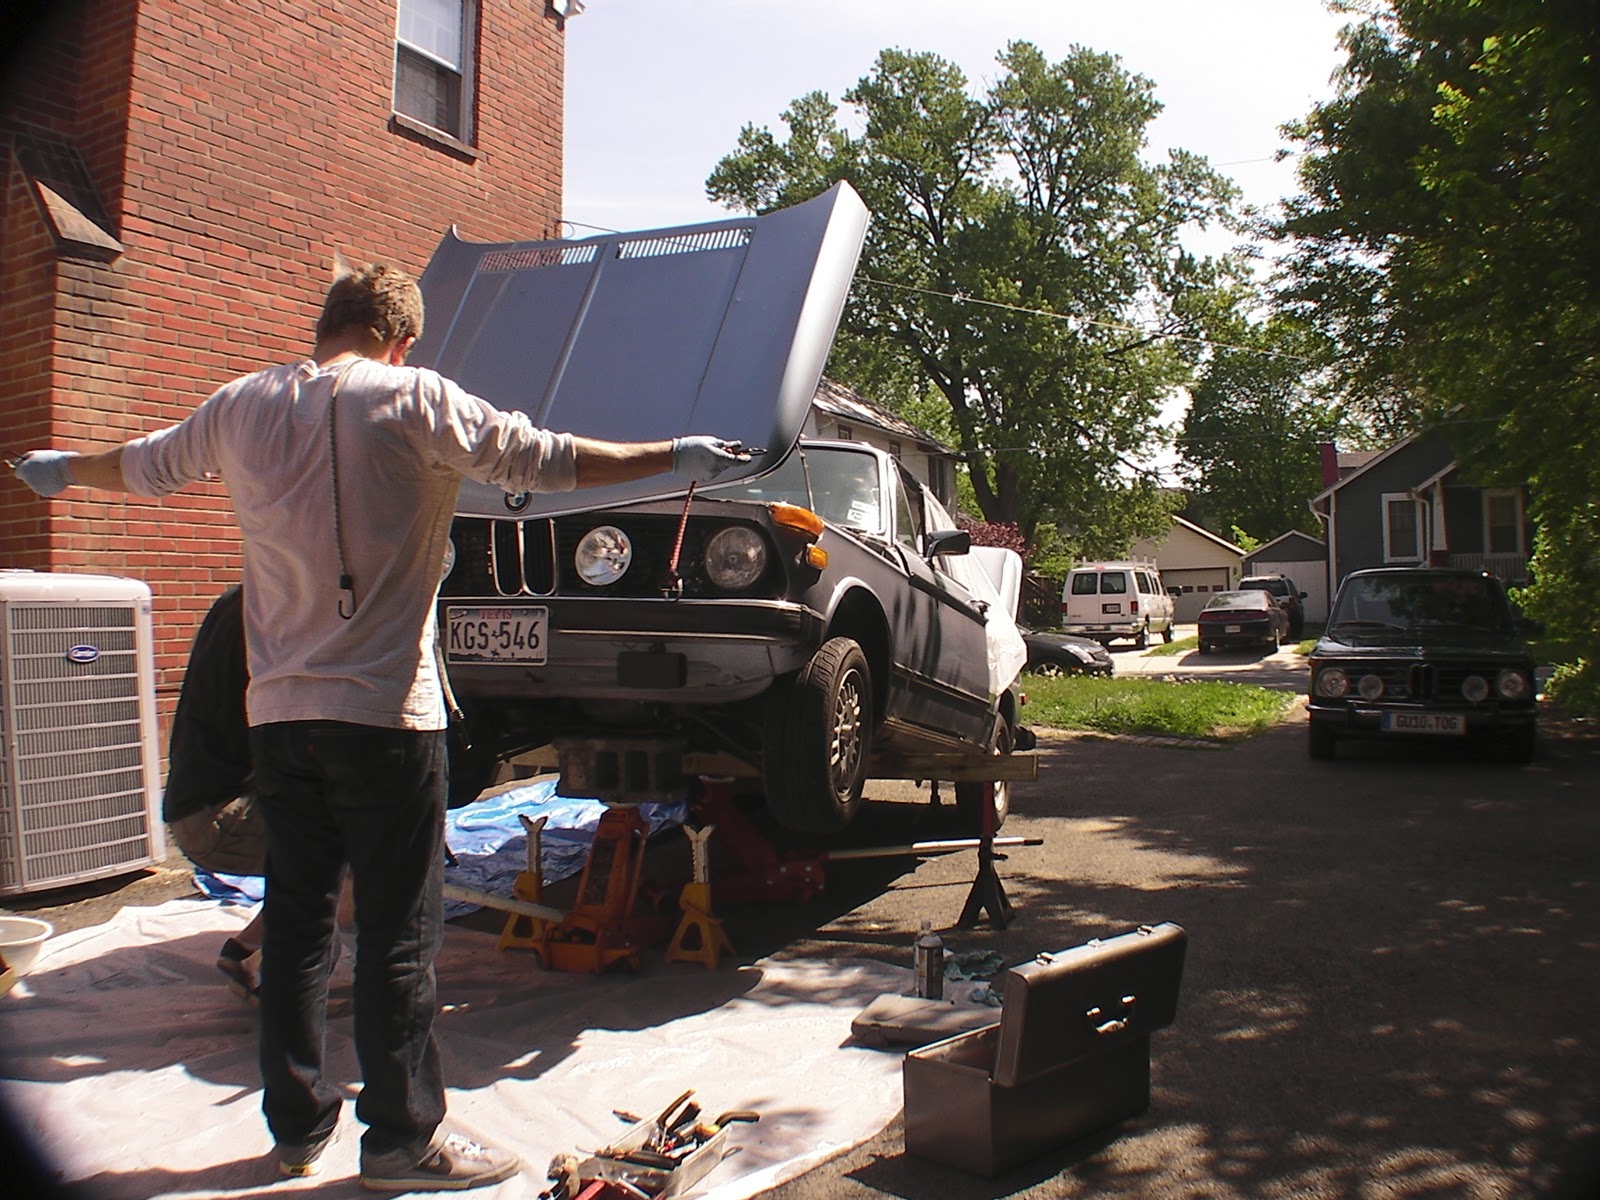
After a little blessing from the pastor of the Church of Dan, we finally got it done.
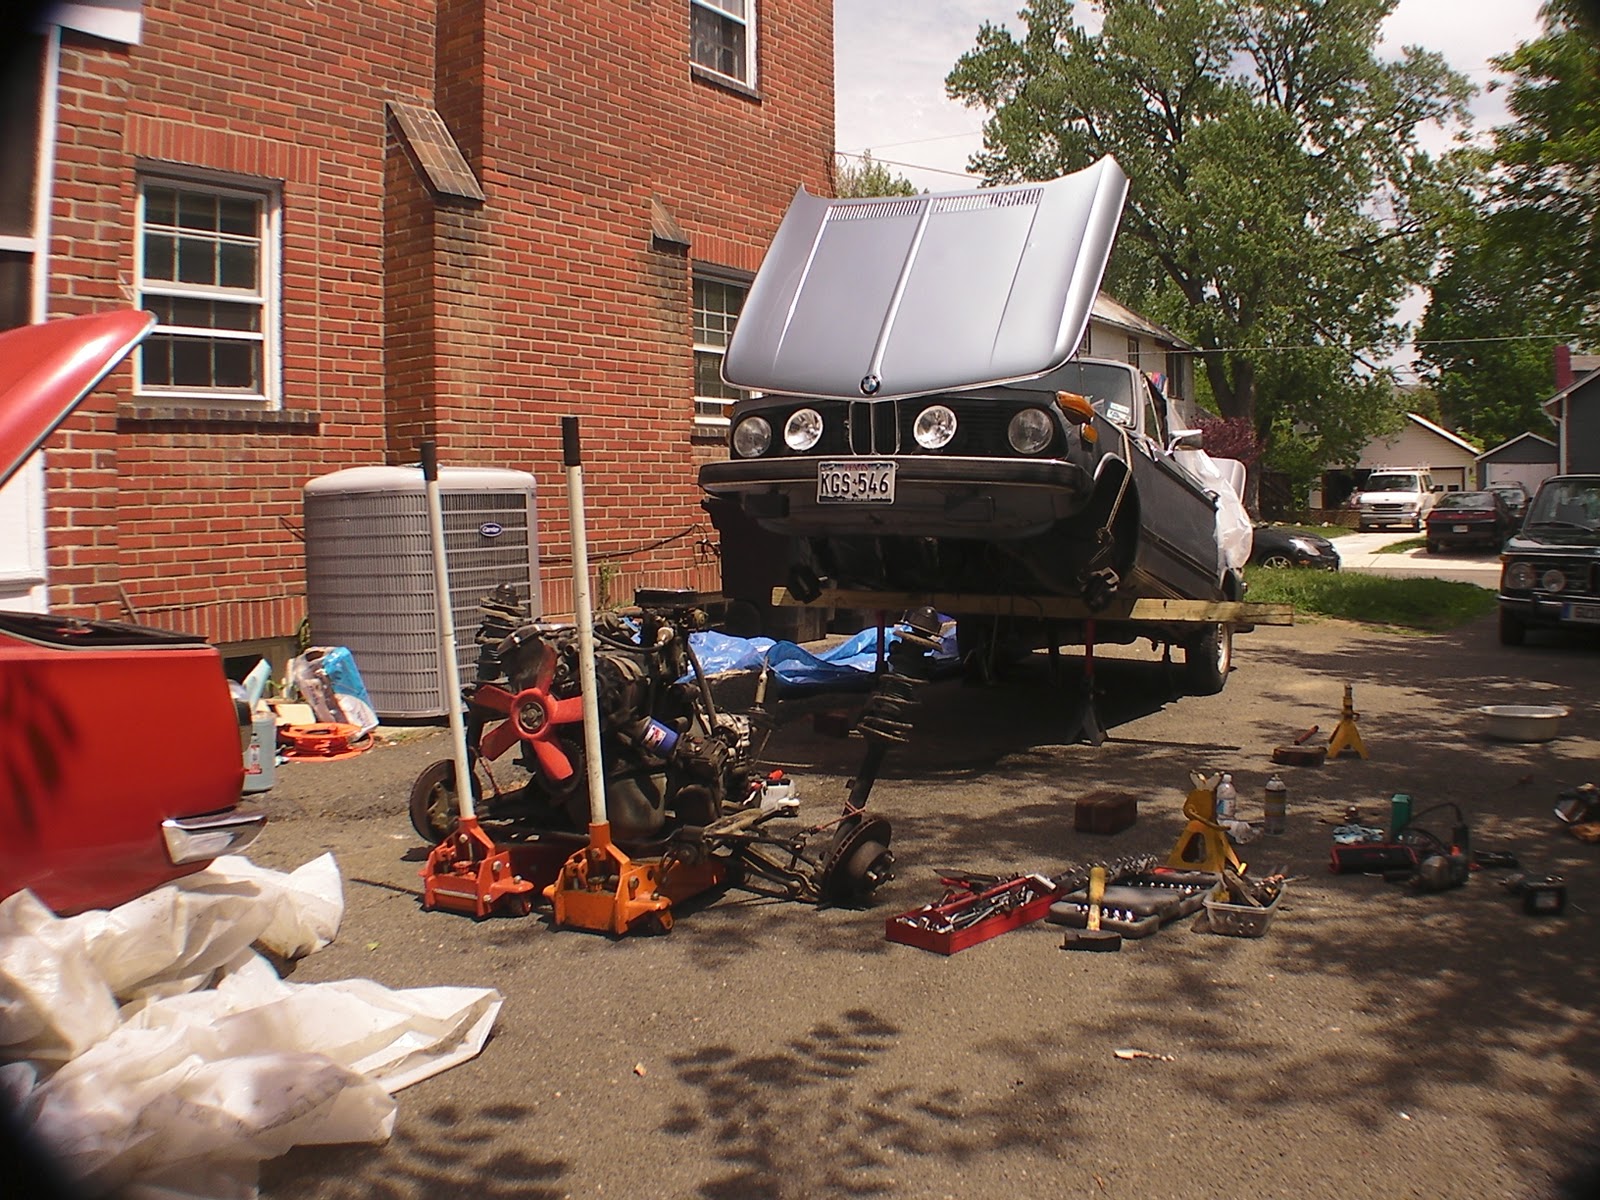
Now, time for a little cleanup and a few new gaskets before it goes into the 1600. Jay and I also made some headway on the 1600's engine bay, which has now been stripped and painted.

Wednesday, April 28, 2010
Midweek Throwdown
In preparation for the weekend of extra help that some local FAQers are giving me, Grice, Jay, Dudley and I tackled dropping the subframe and drivetrain out of the 1600. Saturday, we'll clean up the engine bay and swap in the 2 liter M10 from the `76 2002 along with the 5 speed. We got it out in record time, or so it seemed to us. After a few hours, we slid the subframe out and Dudley made sure that we got enough pictures of him.


Saturday, April 24, 2010
Window Seals and Such
After removing the 250 or so binder clips I trimmed the headliner edges to fit under the new seals. I actually managed to get the rear windshield in by myself, sans lockstrip. Grice and I then did a little cleaning and prepping before pop-riveting in the rear 1/4 window and B-pillar trim. Then we carefully stuffed the new seals in. We also managed to get the front windshield in, again sans lockstrip. We'll get the door seals in later, because we first have to clean off the old adhesive.


Overall, it was quite a progressive weekend.


Overall, it was quite a progressive weekend.
Friday, April 23, 2010
Today, the Headliner. Tomorrow, the World!
Jay and I attacked and conquered the headliner installation today. I've always heard that this was a job only for those with the patience of the Dalai Lama and the dexterity of a brain surgeon, but it was not nearly as bad as I suspected. It does require patience and a steady hand, but it's very much an achievable goal for an afternoon with a helper....just save the beers for when it's done. This headliner is the older style that gets glued in underneath the window seals (that must be removed prior to installation), unlike modern cars that just have a fabric-covered piece of molded cardboard that is secured by plastic trim.
We glued 1/2" upholstery foam in over the QuietCoat to help with even more insulation.

Here's how to do the install:
First, install the bows across and slit the fabric loops to hang it properly. Then start from the rear and clamp 1-1/4" binder clips every 6" or so at about 3/8" depth with no glue. You'll see how it's going to fit. As you go, cut slits in the material about a centimeter apart at the curves. Cut the slits to just where the lip will meet the headliner.

Then, add more binder clips until you have all the wrinkles stretched out. I have heard of people using hair dryers to make the material more pliable, but ours seemed to work in 75F temperature. Once you have all the wrinkles out, begin with the contact cement. We worked with Jay undoing 6" of binder clips at a time while I brushed the contact cement on both the headliner and the lip. Jay would then re-stretch the material and place binder clips along the entire length.

We worked across the rear window, then the C pillars, then the tops of the rear 1/4 windows, then moved to the center of the front windshield and moved back. The whole process took us an afternoon. We left it to dry overnight. Tomorrow, I'll install the new window seals.


Not too shabby. I have to admit that I expected it so be a lot more painful. I bought 540 1-1/4" binder clips and used less than 300 of them. I suppose that I'll save them for the next person that needs to do a headliner.
We glued 1/2" upholstery foam in over the QuietCoat to help with even more insulation.

Here's how to do the install:
First, install the bows across and slit the fabric loops to hang it properly. Then start from the rear and clamp 1-1/4" binder clips every 6" or so at about 3/8" depth with no glue. You'll see how it's going to fit. As you go, cut slits in the material about a centimeter apart at the curves. Cut the slits to just where the lip will meet the headliner.

Then, add more binder clips until you have all the wrinkles stretched out. I have heard of people using hair dryers to make the material more pliable, but ours seemed to work in 75F temperature. Once you have all the wrinkles out, begin with the contact cement. We worked with Jay undoing 6" of binder clips at a time while I brushed the contact cement on both the headliner and the lip. Jay would then re-stretch the material and place binder clips along the entire length.

We worked across the rear window, then the C pillars, then the tops of the rear 1/4 windows, then moved to the center of the front windshield and moved back. The whole process took us an afternoon. We left it to dry overnight. Tomorrow, I'll install the new window seals.


Not too shabby. I have to admit that I expected it so be a lot more painful. I bought 540 1-1/4" binder clips and used less than 300 of them. I suppose that I'll save them for the next person that needs to do a headliner.
Subscribe to:
Posts (Atom)